
I found this on Pinterest several months ago and decided to try it out. I did do this several months ago, so I'll try my best to recall any troubles I had in between :)
1) Apply nail polish in any way you chose. I decided to do what this picture did and do three strips of three bright colors. It doesn't have to be neat at all. Make sure it's completely dry before you move to step #2.


2) Find some thin tape OR cut up normal tape so it is in thin strips. Cutting tape is a little difficult, so if that's the route you go you'll probably end up with some fun shapes, which is okay. Then, place the strips/shapes randomly on your finger. (you can kind of see the clear tape in the pictures below randomly cute/placed)


3) Cover your nail(s) again in one color. You could probably mess around with this and do a few colors as well. Since I had a bright base selection, I chose a dark purple to cover the nails.


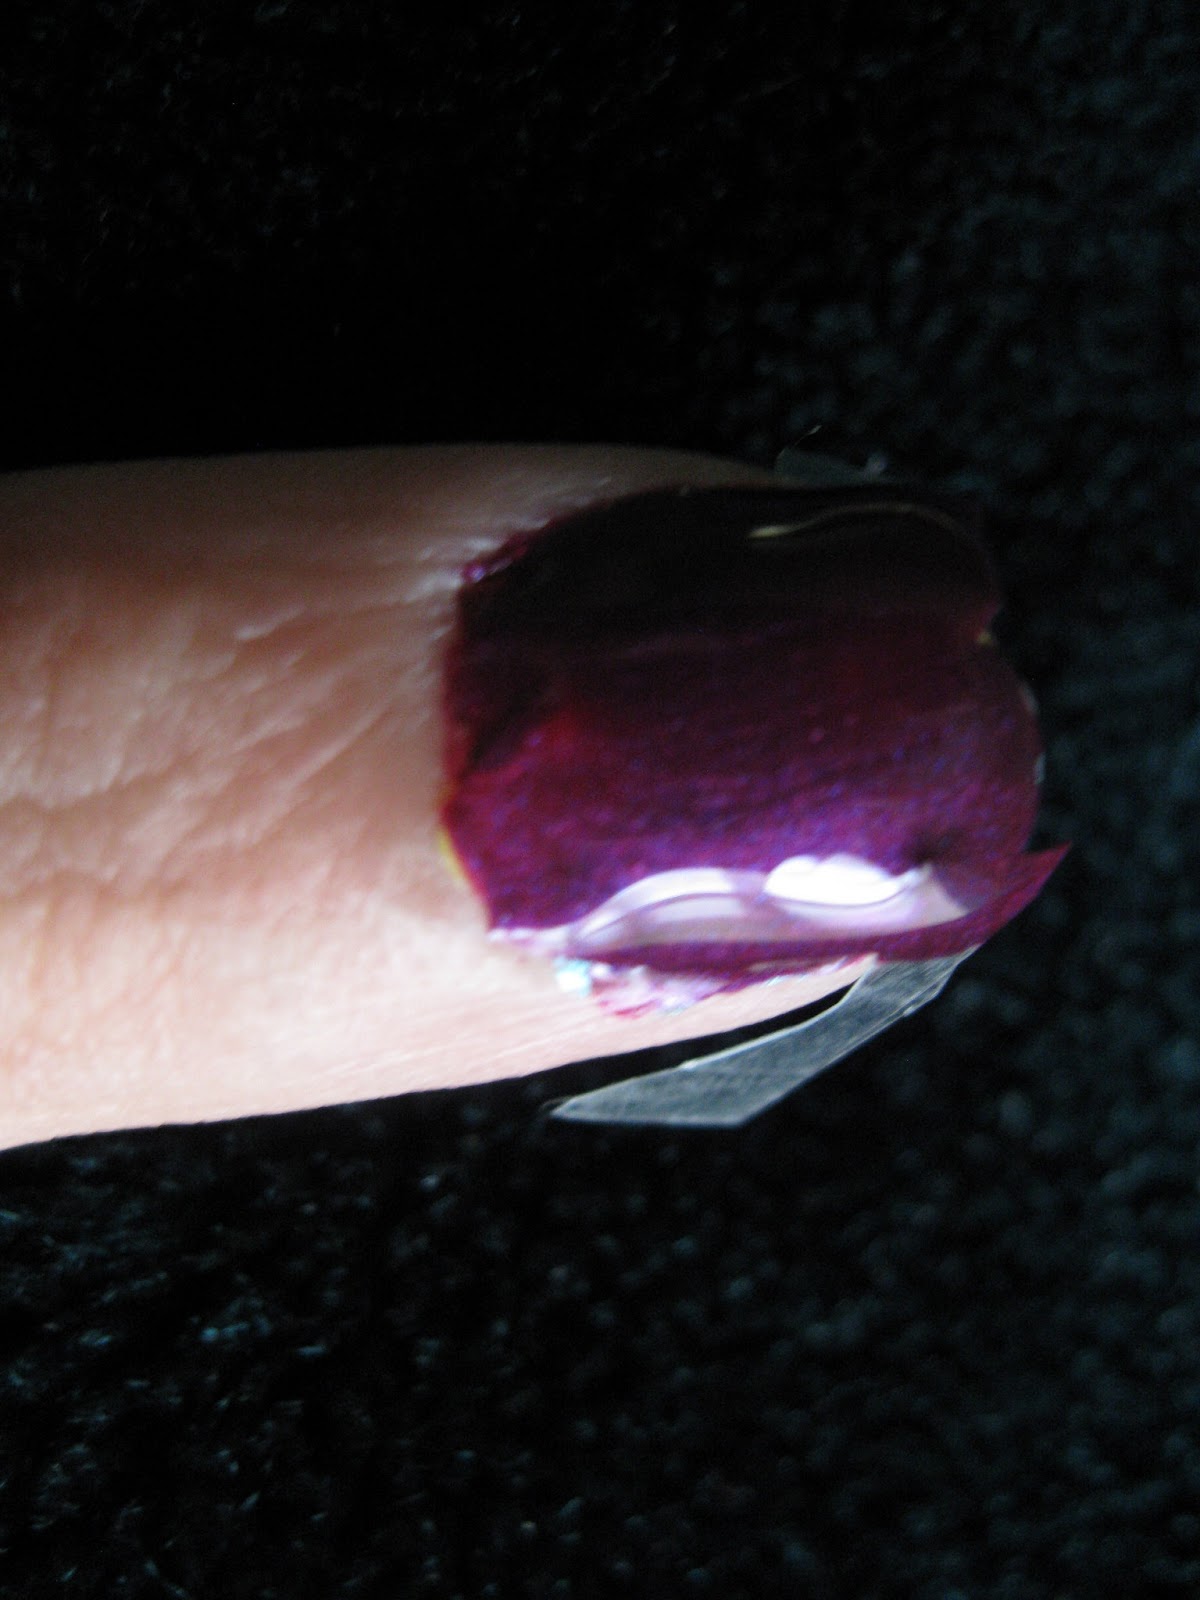
4) After you wait a long time and let the top color dry, peel off the tape. My nails weren't as neat as I wanted them to be probably because I didn't wait long enough for the top part to dry and the tape wasn't put on strongly enough originally.


5) As you can probably tell from the pictures, there is a physical level difference between the layers of polish. So putting on top coat is probably a wise idea! :) Here are all my nails final product


This design took LOTS of time/work with the waiting and cutting up tape and attempting to not create a total mess :) But the end product is pretty fun and unique! If you have like stickers you could possibly do like hearts/stars. There's lots of ways to go with this, but make sure to let everything dry properly!
Best part, women will ask you how you'd manage to create such pretty nail designs :)
ReplyDelete